A note in advance: Please don’t try to apply for an account to post events from a smartphone. You will run into problems during the signup process and cannot use all the features needed for a successful event posting. Please use a desktop, laptop, or a big tablet.
First, you need to request an account. This can be easily done by visiting this link. There will be a form to enter a username and email address.
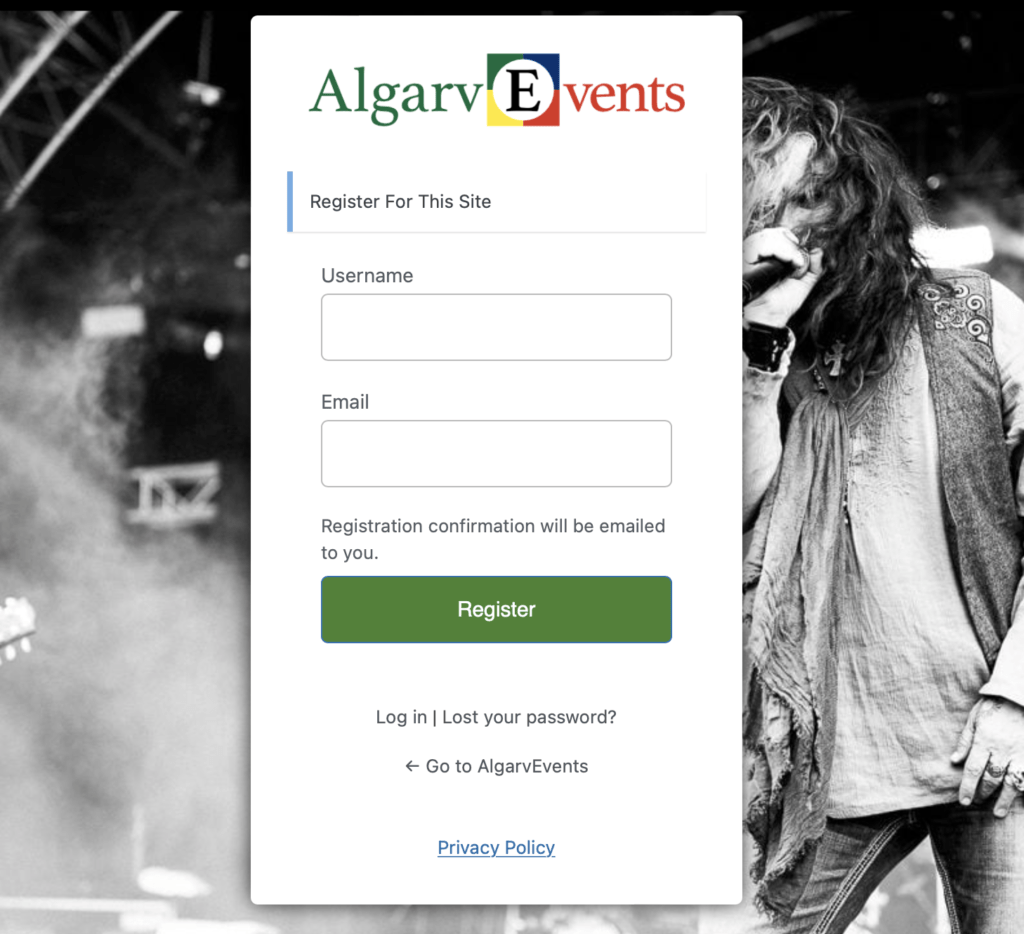
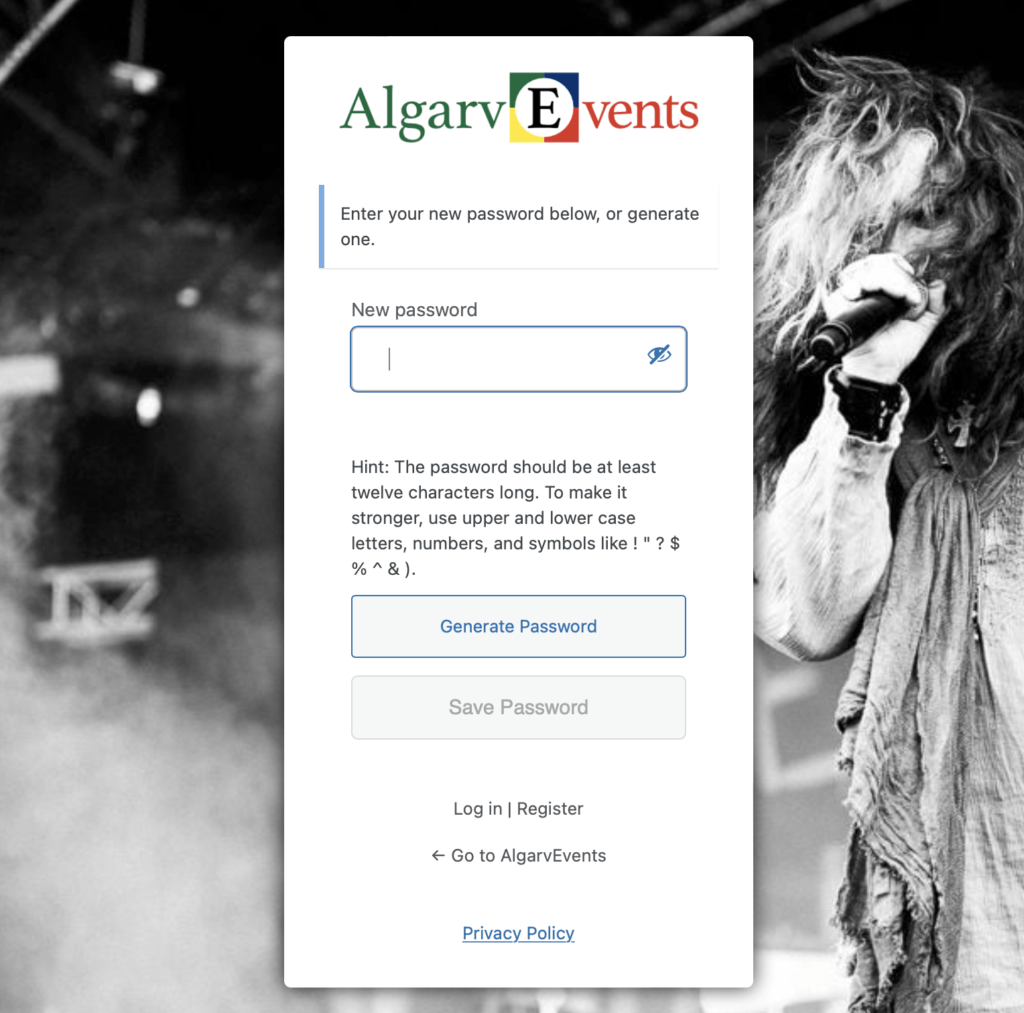
After you submit this form you will receive an email which will thank you for signing up and tell you a link for changing your password and a link for submitting and editing events. You can already set your password. The form will look like this.
If you do not receive this email within a few minutes, please check your spam folder.
From here on, it’s a good idea to use a big screen if possible.
You can also add and edit your events on your smartphone, but the whole process is easier and more intuitive on a tablet, laptop or a desktop computer.
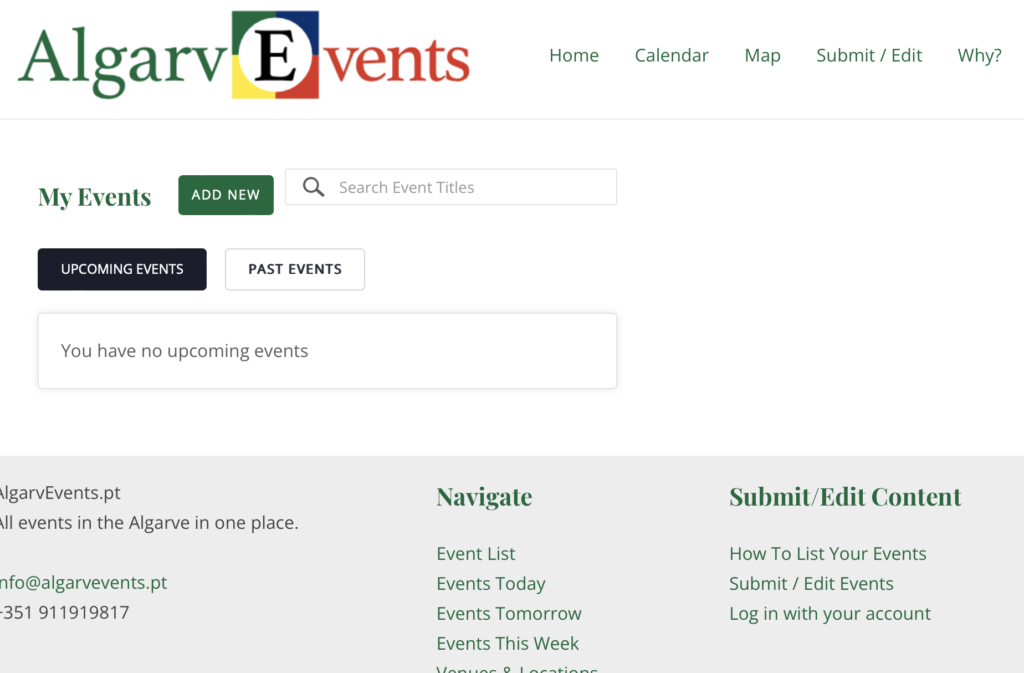
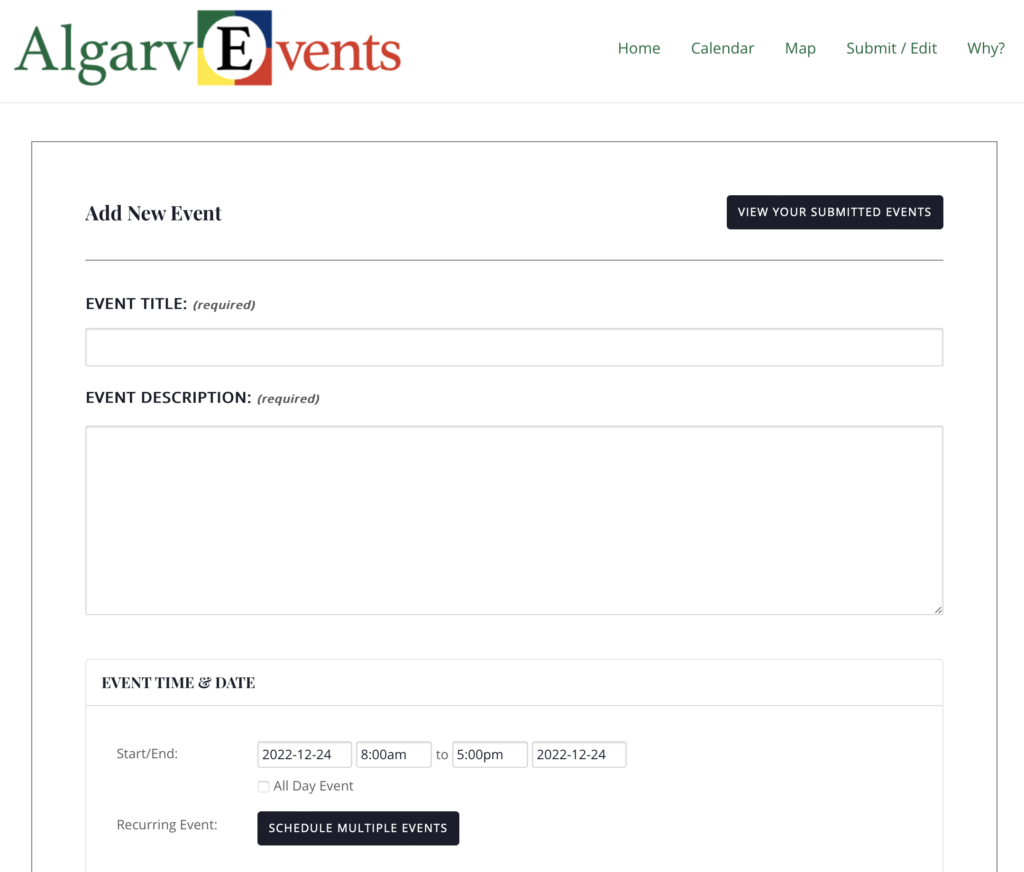
Once you receive the email that your account is activated, please log in. You will find this form. With the green button, you can add new events. Below you will see a list of the events you submitted.
Click “Add new” and start entering the event data, like title, details and date/time.
In case you have a two-day event with different opening hours, please just post two separate events. There is another option by posting a repeating event with the same opening hours of the first day, and then editing the opening hours of the second day ONLY for the second day. But this is an advanced process and you should already have posted regular multi-day events to get this done properly.
AlgarveEvents is a mighty piece of software, and it takes some time to understand all the options and possibilities. Start simple.
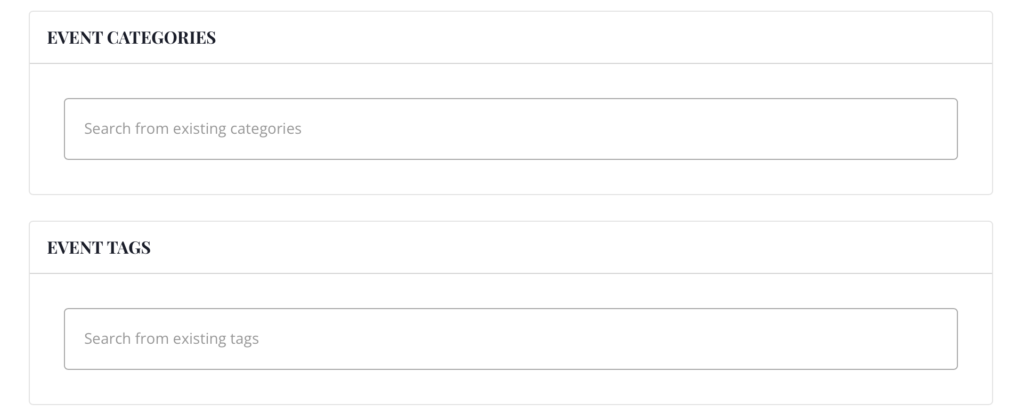
Select from the categories and tags that are already in the system. If you do not find a suitable category or need tags that are not already in the database to describe your event better, please let us know and we’ll add them to the system. You can just send us a note and we will add the requested tags to your event when approving it. And once the categories and tags are in the database, you can add them on your own for future events.
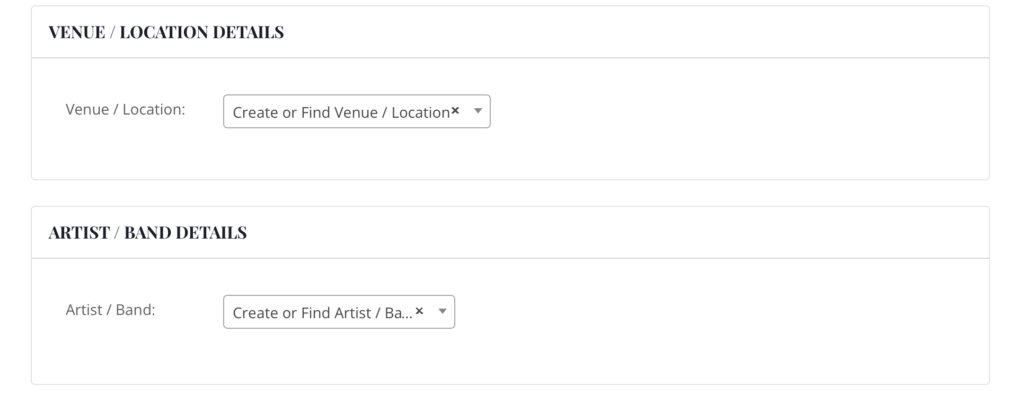
With the venue field, you can select from the venues already in the system or add a new one. The same applies to the artists/bands.
Please check if the venue and artist are already in the system and avoid creating duplicates. It’s a hard time for the admins to merge duplicate entries.
After you submit your event it will not be listed immediately. Please give the admin a few hours to review and publish it.
Please remember, when you want to go to the admin page again to enter or edit your entries, you can select “Submit / Edit” from the top menu.

Alternatively, there is also an edit menu in the footer of this site. You will find a link to the login page and the “Submit / Edit” page.
That’s it so far. The whole process is pretty straightforward and when you do it a few times it will be quick and easy.